要在一个Windows系统上部署AnythingLLM(一个基于LLaMA模型的开源项目),你可以选择不使用Docker,而是直接在Windows上安装所有必需的依赖和运行环境。以下是详细的步骤,帮助你从头开始部署AnythingLLM:
第一步:安装Python
首先,确保你的Windows系统上安装了Python。可以从Python官网下载并安装最新版本的Python(建议使用Python 3.8或更高版本)。
官网下载地址:Welcome to Python.org
安装时,要选择“Add Python to PATH”,这个选项非常重要,因为它会将Python的安装路径添加到系统环境变量中,使得您在命令行中输入python或python3时可以直接运行Python解释器。
完成安装后,打开命令提示符窗口(Windows用户可以使用Win+R快捷键打开cmd窗口),输入python并按Enter键。如果看到版本信息显示,说明安装成功。

第二步:下载AnythingLLM源代码
从github下载AnythingLLM源代码,下载地址:leeevertime/AnythingLLM
运行起来才发现这套代码有点旧,后又找了其他新的源码,地址附在文末,整个调试过程是一样的。
第三步:开发环境下安装依赖包并启动
代码中提示操作如下:
### How to get started (Development environment)
- `yarn setup` from the project root directory.
  - This will fill in the required `.env` files you'll need in each of the application sections. Go fill those out before proceeding or else things won't work right.
- `cd frontend && yarn install && cd ../server && yarn install` from the project root directory.1、首先,我们需要调用yarn setup指令。
使用VS Code打开项目源代码,并运行yarn setup指令。
过程中
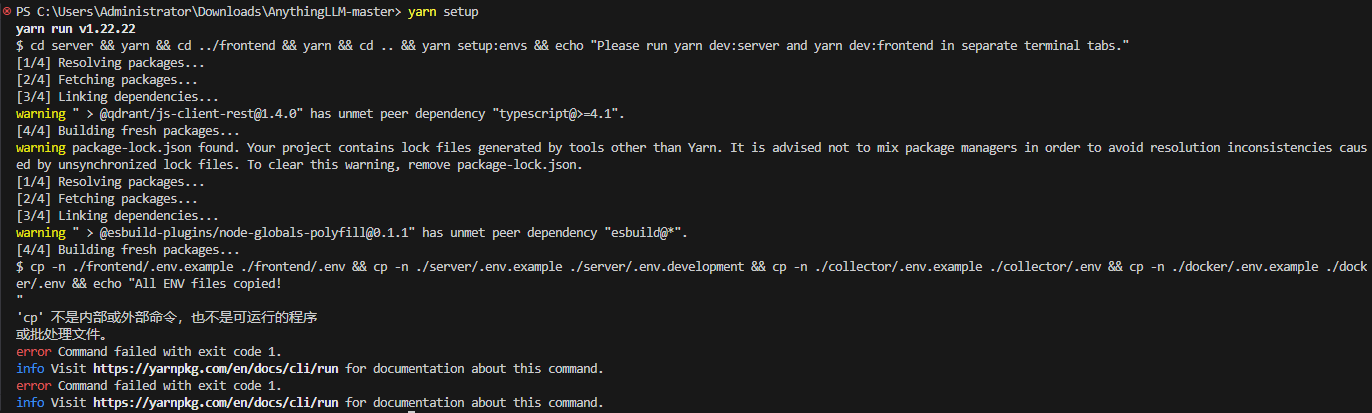
过程中提示错误:cp不是内部或外部命令,也不是可运行的程序。
这是因为cp是linux命令,在windows系统下需要使用copy,对应这行代码:
cp -n ./frontend/.env.example ./frontend/.env && cp -n ./server/.env.example ./server/.env.development && cp -n ./collector/.env.example ./collector/.env && cp -n ./docker/.env.example ./docker/.env && echo "All ENV files copied!"这行代码作用是把几个目录下的.env.example复制到相同目录下,并重命名为.env。这个过程可以手动复制,也可以使用windows下的copy命令:
copy ./frontend/.env.example ./frontend/.env
copy ./server/.env.example ./server/.env.development
copy ./collector/.env.example ./collector/.env
copy ./docker/.env.example ./docker/.env
echo "All ENV files copied!"2、其次,分别执行yarn install指令安装依赖:
cd frontend
yarn install
cd ../server
yarn install此时,检查目录下server/.env.development是否存在,如果有说明执行成功了。
3、启动本地服务端软件
cd server
yarn dev执行中发现如下错误:'NODE_ENV' 不是内部或外部命令,也不是可运行的程序或批处理文件。

这是因为在 Windows 上,使用 NODE_ENV=development 设置环境变量的语法与 Unix/Linux 平台上有所不同。
首先,下载安装cross-env,
npm install cross-env –-save-dev在server目录下打开package.json,修改scripts配置,在NODE_ENV=development前面添加cross-env。
修改前:
"scripts": {
    "dev": "NODE_ENV=development nodemon --ignore documents --ignore vector-cache --ignore storage --ignore swagger --trace-warnings index.js",
    "start": "NODE_ENV=production node index.js",
    "lint": "yarn prettier --write ./endpoints ./models ./utils index.js",
    "swagger": "node ./swagger/init.js"
  },
修改后:
"scripts": {
    "dev": "cross-env NODE_ENV=development nodemon --ignore documents --ignore vector-cache --ignore storage --ignore swagger --trace-warnings index.js",
    "start": "cross-env NODE_ENV=production node index.js",
    "lint": "yarn prettier --write ./endpoints ./models ./utils index.js",
    "swagger": "node ./swagger/init.js"
  },
再次执行yarn dev就成功了。

4、启动本地前端软件
新开一个terminal终端,然后执行如下命令:
cd frontend
yarn start
或
yarn dev:frontend不过,执行时又出现错误(真是一波多折):
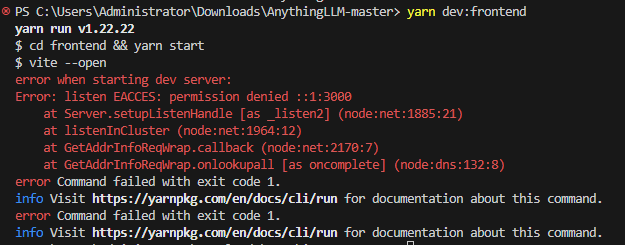
原来是3000端口无权限访问,应该是端口被其他程序占用了,在frontend目录下vite.config.js中将端口调整为3002或其他即可。
运行完成后,访问 http://localhost:3002/就可以看到运行结果了。
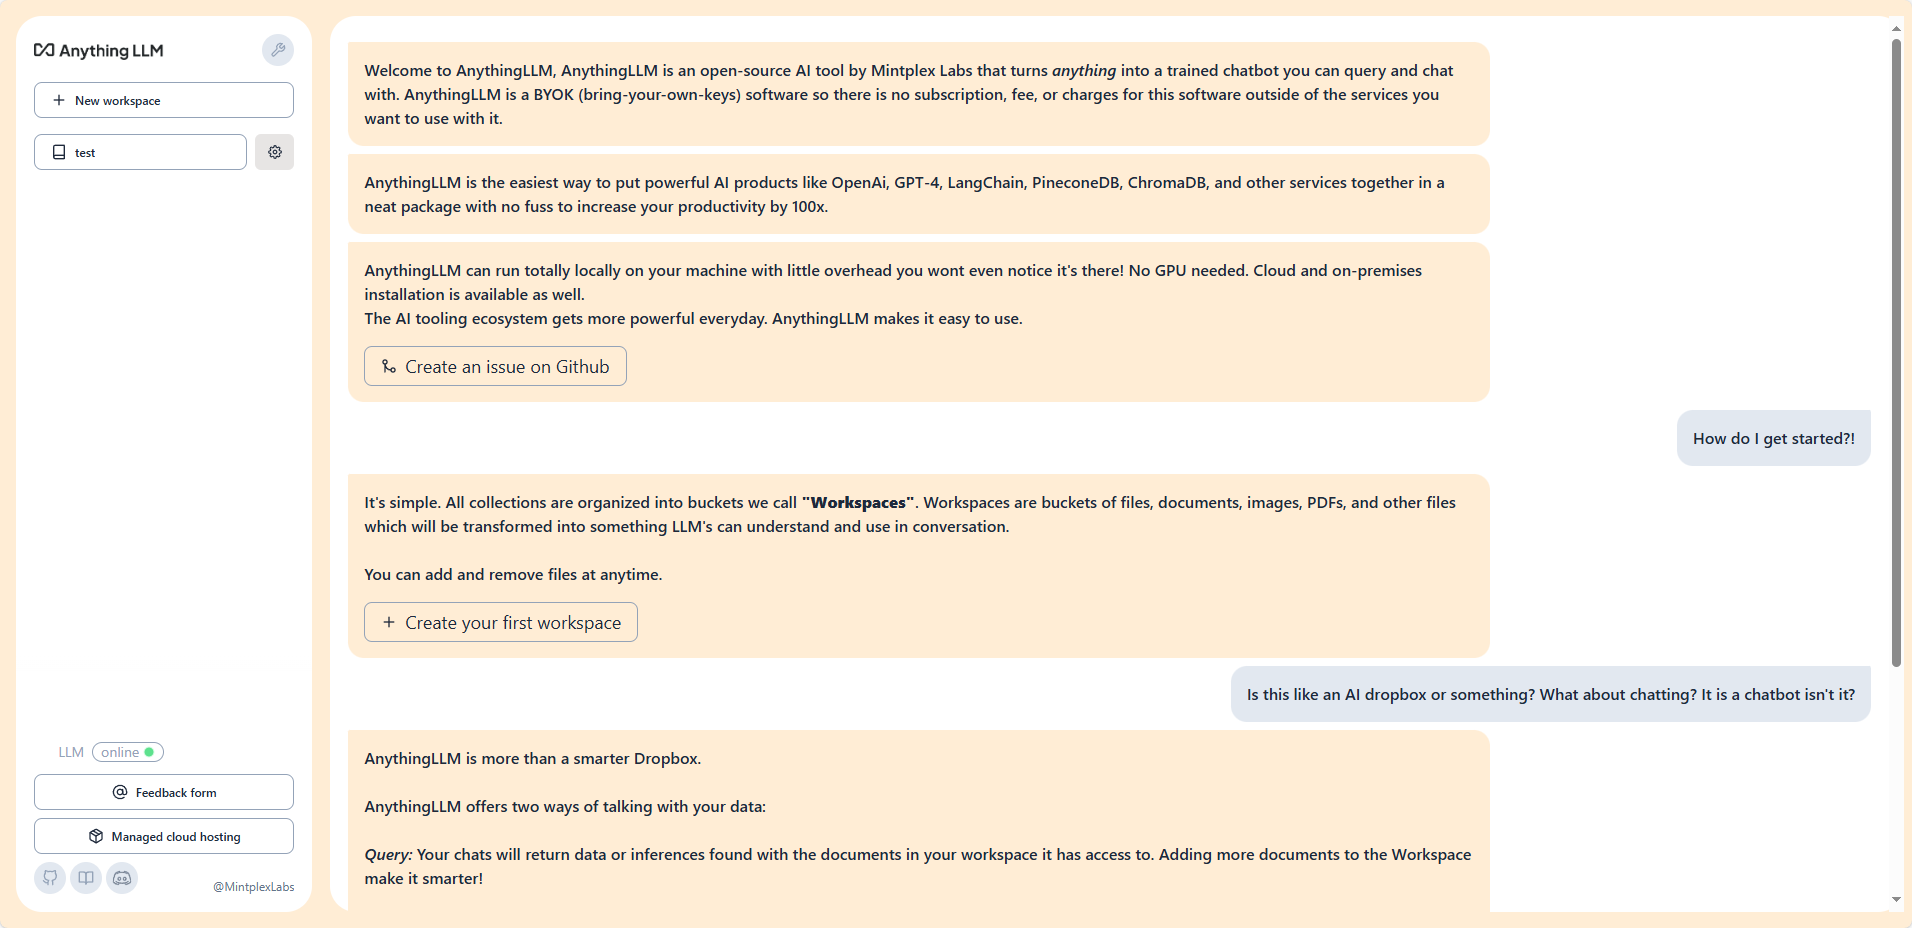
整体来说,代码调试运行就成功了,不过这套代码可能不是最新的,界面跟官方下载的有些差别,再找其他源码试试,不过整体调试过程是一样的。
补充:
后面,有找了最新的代码,下载地址为:Mintplex-Labs/anything-llm: The all-in-one Desktop & Docker AI application with built-in RAG, AI agents, and more.
不过这个执行yarn setup时提示如下错误:
error C:\Users\Administrator\Downloads\anything-llm-master\server\node_modules\bcrypt: Command failed.
Exit code: 7
Command: node-pre-gyp install --fallback-to-build应该是未安装node-pre-gyp导致,使用指令安装:
npm install -g node-pre-gyp结果如下:

安装完成后重新运行yarn setup,后续出现的问题就和文档中一致了。